Connecting local databases - Part III
We’ve already talked about how to set up the PostgreSQL database locally and how to connect a Java application to it. If you haven’t seen it: first part and second part, if you’re interested.
Today I’m going to talk about how to configure a NoSQL database locally. For this, I’ll use MongoDB Community Edition. I was going to include installation instructions in the post, but after reading the documentation, I think it’s quite self-explanatory. I even faced problems installing on Ubuntu and solved them using the documentation itself. Links below:
Installation on Linux Troubleshoot Ubuntu Installation.
Afterwards, it’s important to install Mongo Compass, which provides a GUI to handle collections on your machine. It looks like this: 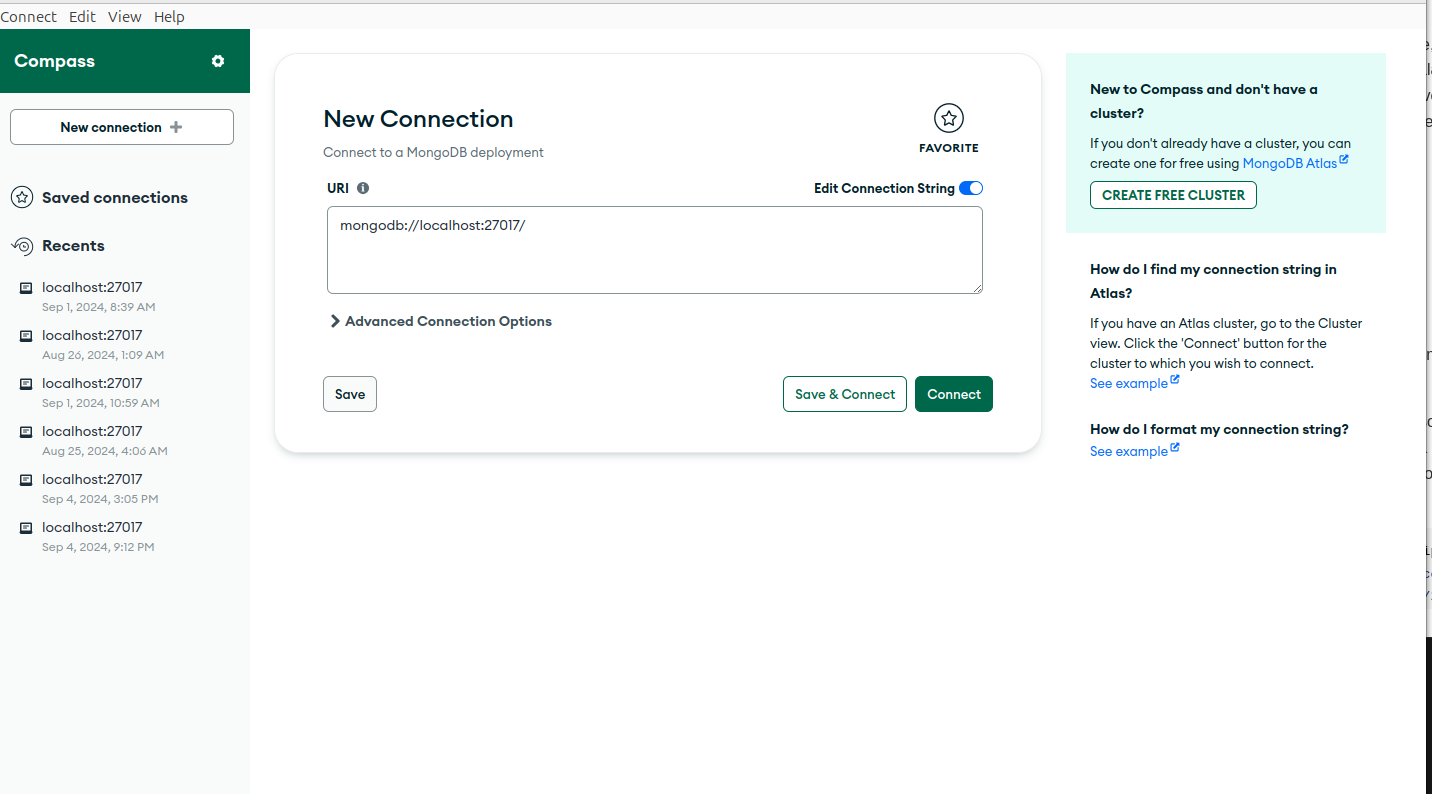
The NoSQL database is a bit more friendly than SQL for you to deal with. If you access a PostgreSQL or DBeaver, it’s much more complex because there are a series of relationships and particularities of SQL that NoSQL doesn’t have.
It comes by default on port 27017. Only change it if you insist. Once connected, it looks like this: 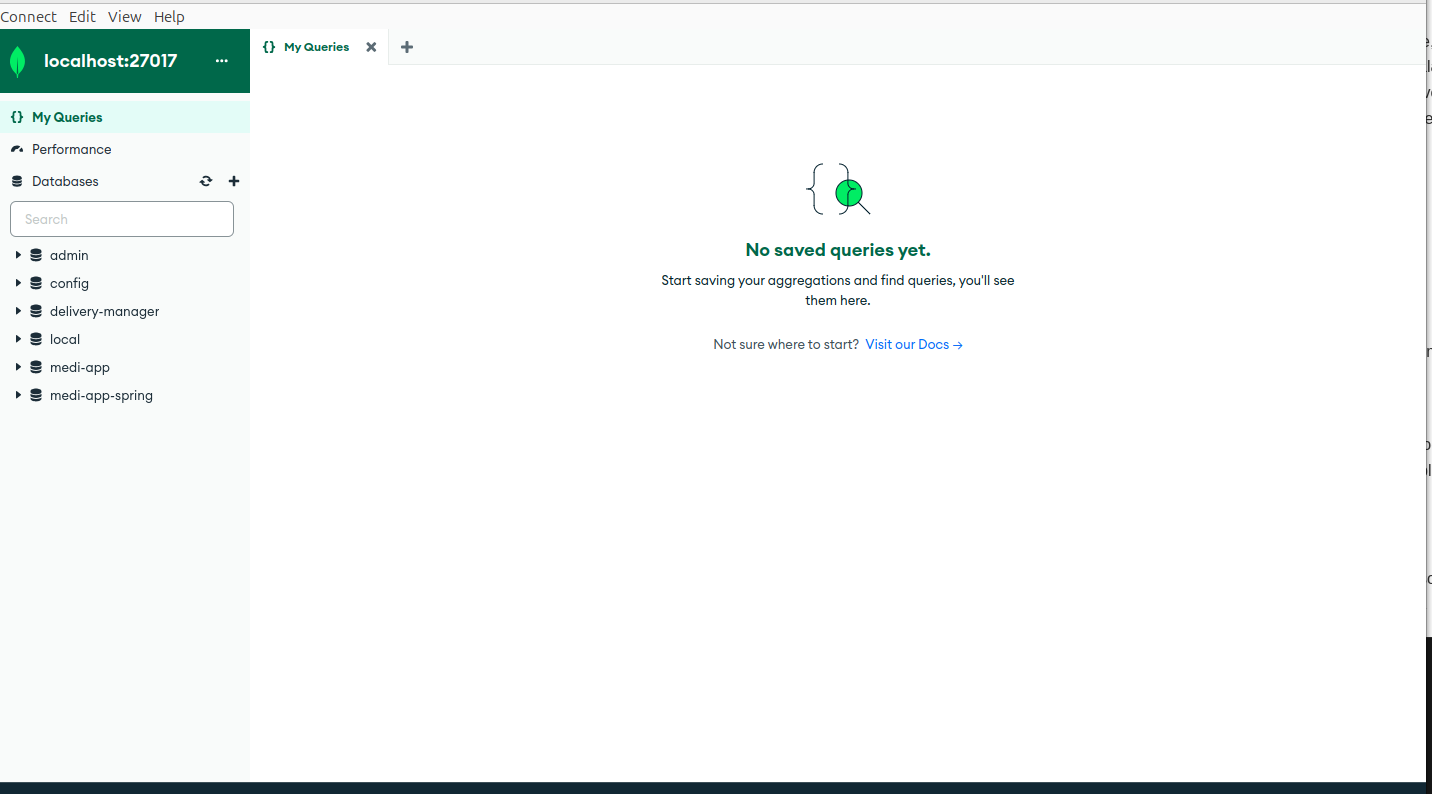
Here you can create your databases and collections that you may need in your application. But we’re not going to create schemas or objects here. We’ll do it via Java application.
First, in pom.xml you’ll need the following dependencies:
1
2
3
4
5
6
7
8
9
10
11
12
13
14
15
16
17
18
19
20
21
22
    <dependencies>
        <dependency>
            <groupId>org.mongodb</groupId>
            <artifactId>mongodb-driver-sync</artifactId>
            <version>5.1.1</version>
        </dependency>
        <dependency>
            <groupId>javax.validation</groupId>
            <artifactId>validation-api</artifactId>
            <version>2.0.1.Final</version>
        </dependency>
        <dependency>
            <groupId>org.slf4j</groupId>
            <artifactId>slf4j-api</artifactId>
            <version>2.0.9</version>
        </dependency>
        <dependency>
            <groupId>org.slf4j</groupId>
            <artifactId>slf4j-simple</artifactId>
            <version>2.0.9</version>
        </dependency>
    </dependencies>
Then, just like for PostgreSQL, we need a .properties file to define some database properties:
1
2
mongodb.uri=mongodb://localhost:27017
mongodb.database=delivery-manager
With this in place, it’s important to run mvn clean install to install the dependencies so we can continue.
Now let’s set up the connection to the database. We’ll follow a similar pattern to the PostgreSQL configuration, creating a specific class to manage the connection to MongoDB.
In the code below I use the MongoDB API for Java (mongo-java-driver) loading the database configurations from the db.properties file.
I declare a static MongoClient attribute which is an interface of the MongoDB API to connect to the database.
Then I create the getConnection() method, responsible for returning an active connection to Mongo. First it loads the database settings from the db.properties file by calling the loadProperties() method. Then it checks if mongoClient is null, that is, if there’s any active connection to the database, if not, it opens a new connection using the local database uri. Finally, it gets the database name from the properties and returns the MongoDatabase instance corresponding to our database.
Additionally, I create the closeConnection() method, necessary to close the connection to the database.
And also the loadProperties() method, which loads the information from the db.properties file.
1
2
3
4
5
6
7
8
9
10
11
12
13
14
15
16
17
18
19
20
21
22
23
24
25
26
27
28
29
30
31
32
33
34
35
36
37
import com.mongodb.client.MongoClient;
import com.mongodb.client.MongoClients;
import com.mongodb.client.MongoDatabase;
import java.io.FileInputStream;
import java.io.IOException;
import java.util.Properties;

public class DB {
  private static MongoClient mongoClient;

  public static MongoDatabase getConnection() {
    Properties props = loadProperties();
    if (mongoClient == null) {
      String uri = props.getProperty("mongodb.uri");
      mongoClient = MongoClients.create(uri);
    }

    String databaseName = props.getProperty("mongodb.database");
    return mongoClient.getDatabase(databaseName);
  }

  public static void closeConnection() {
    if (mongoClient != null) {
      mongoClient.close();
    }
  }

  private static Properties loadProperties() {
    try (FileInputStream fs = new FileInputStream("src/main/resources/db.properties")) {
      Properties props = new Properties();
      props.load(fs);
      return props;
    } catch (IOException e) {
      throw new DbException(e.getMessage());
    }
  }
}
The MongoDB configuration part is relatively easier than PostgreSQL.
Then, let’s create our Product entity with the schema that will be used in the collection.
1
2
3
4
5
6
7
8
9
10
11
12
13
14
15
16
17
18
19
20
21
22
23
24
25
26
27
28
29
30
31
32
33
34
35
36
37
38
39
40
41
42
43
44
45
46
47
48
49
50
51
52
53
54
55
56
57
58
59
60
61
62
63
64
65
66
67
68
69
70
71
72
import javax.validation.constraints.NotNull;
import javax.validation.constraints.Size;

public class Product {
  private String id;

  @NotNull(message = "Product name is required")
  private String name;

  @NotNull(message = "Product price is required")
  private Double price;

  @NotNull(message = "Product description is required")
  @Size(min = 10, message = "Product description requires 10 characters at least")
  private String description;

  private String imageUri;

  public Product() {}

  public Product(String id, String name, Double price, String description, String imageUri) {
    this.id = id;
    this.name = name;
    this.price = price;
    this.description = description;
    this.imageUri = imageUri;
  }

  public String getId() {
    return id;
  }

  public void setId(String id) {
    this.id = id;
  }

  public String getName() {
    return name;
  }

  public void setName(String name) {
    this.name = name;
  }

  public Double getPrice() {
    return price;
  }

  public void setPrice(Double price) {
    this.price = price;
  }

  public String getDescription() {
    return description;
  }

  public void setDescription(String description) {
    this.description = description;
  }

  public String getImageUri() {
    return imageUri;
  }

  public void setImageUri(String imageUri) {
    this.imageUri = imageUri;
  }

  public boolean validateId(String id) {
    return id != null && !id.isEmpty();
  }
}
I included the validateId method in case I need to verify if that id of that object is valid to insert in the database just as a precaution.
Well, time was tight, I’ve already finished all the code, but I haven’t had time yet to produce an adequate explanation. I’ll end this post here so you can have time to see the installation and if you have any questions, just contact me.
Cheers!
Comments powered by Disqus.